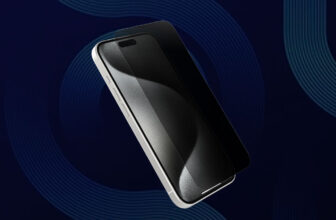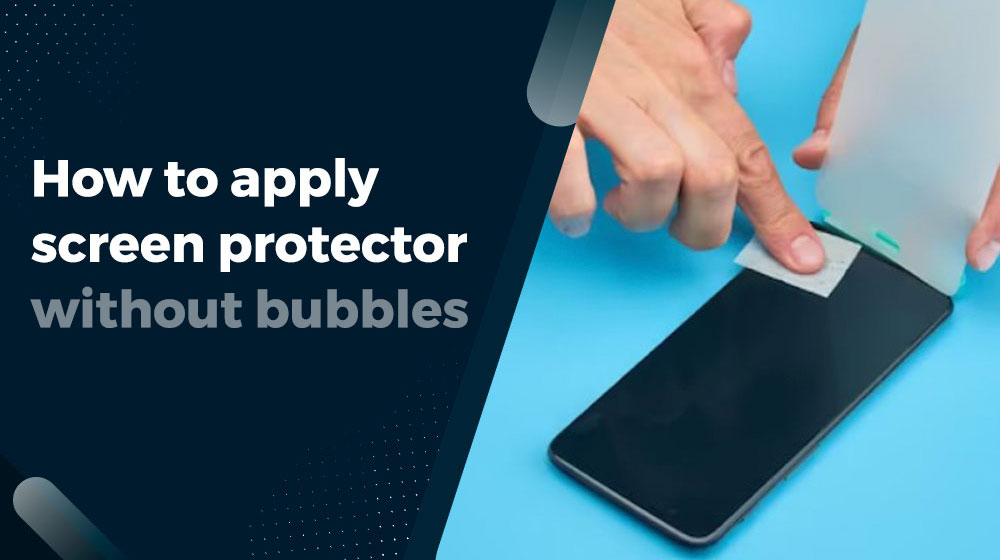
If the phone falls on the ground due to a minor mistake or other incident, the screen of the phone can crack very quickly. So the best way to add extra protection to your iPhone or Android phone screen is to use a screen protector.
Why should the screen be protected?
- Being the most expensive part of the phone.
- Having to pay more for repairs.
- Maybe not finding the original screen to replace.
- There is a difference between the quality of the newly added screen and the original screen.
- Having to give your phone to another party for repair.
- Having to spend extra time for this. That means not being able to use the phone until it is repaired.
What are the benefits of Screen Protector?
The main thing is to protect your device screen from damages like scratches and cracks. Avoid soiling by smudges and dust marks on the screen.
Also, when one screen protector is worn, you can remove it and put a new one again.
Imagine the hassle of replacing the screen when it gets damaged. If you use Screen Protector, your screen will be protected from scratches and cracks. That way, you can remove the damaged screen protector and install a new screen protector more easily.
Can you put on a screen protector by yourself?
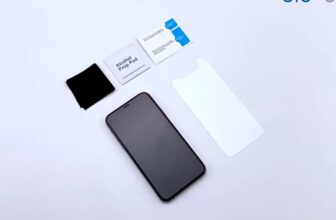
Yes of course, Screen protectors are designed to be inserted by customers themselves. But you should have some idea about the process. The product comes with everything you need to do it right. For example, Guide Stickers, Dust Absorber, Wet Wipe and Dry Wipe etc. Some products come with an installation tray.
There are different types of screen protectors in the market. Therefore, it is very important that you have some knowledge before applying those screen protectors. Along with these you will get additional tools. You should know how to use them.
Properly apply a screen protector
I’m going to show you how to install the tempered glass screen protector for the iPhone. Don’t worry, even though the device has changed, there is no major change in the process. After performing the initial steps, do this according to the method that suits you with your device. Here we show the general process step by step. There may be some differences depending on your screen protector, especially if there is an installation tray, you can easily do this by using one.
Process of the apply a screen protector
- The first thing we need to do is clean the iPhone screen. So take one of the wet wipes and clean the screen of the device.
- Wet wipe: Rub the wet wipes on the screen and clean it well. Rub the wipe in a circular motion. After cleaning, Make sure you remove all dust, dirt and fingerprints.
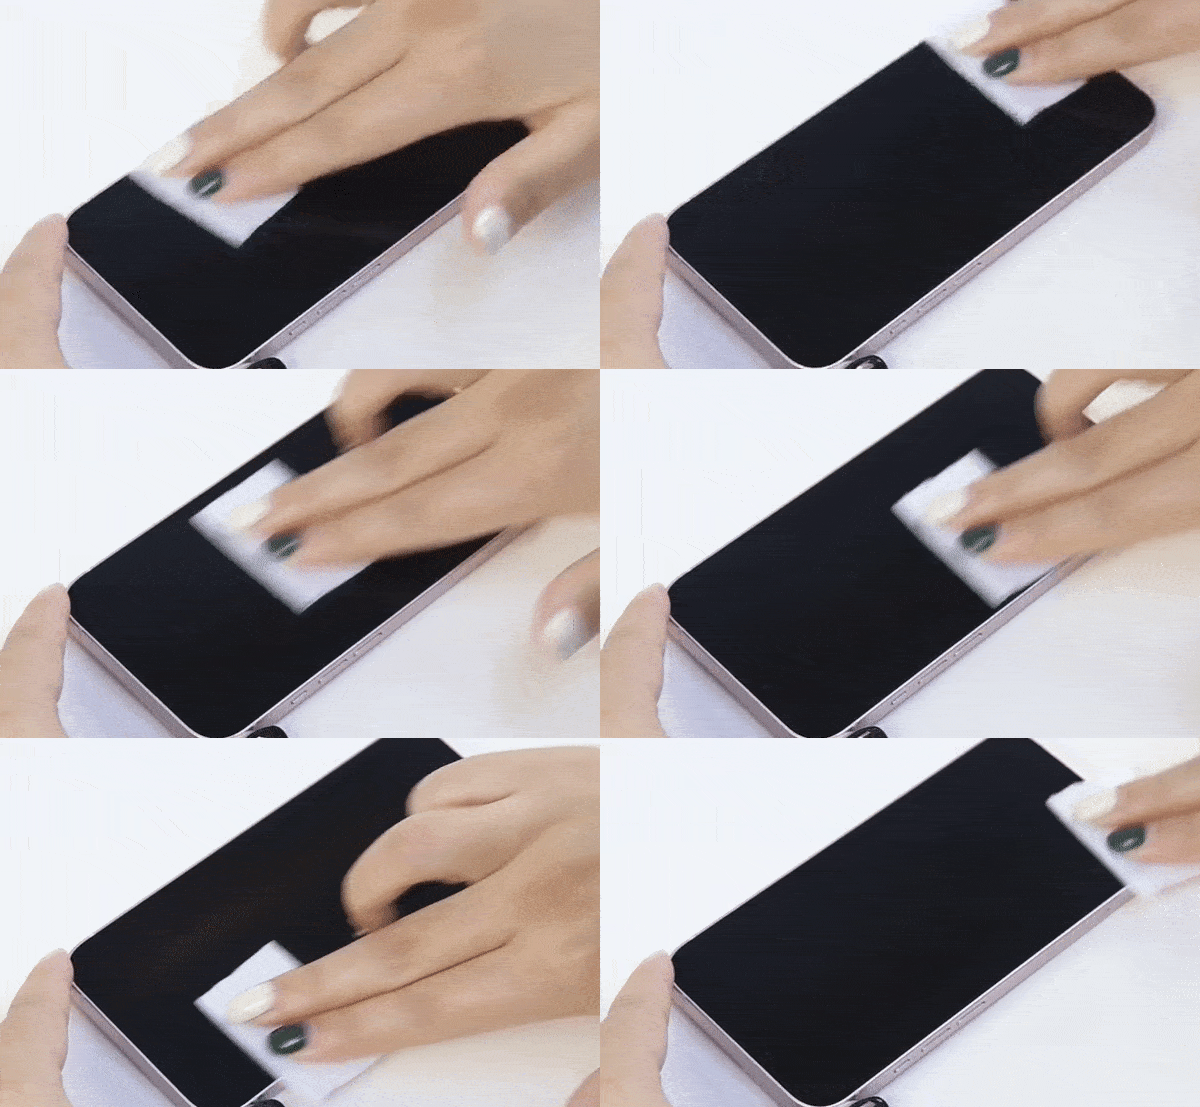
- Dry wipe: Now take the dry wipe and rub it well to dry the screen. Rub the dry wipe from top to bottom to clean well.
- Dust Absorber use: If there are still very small dust particles, get a Dust Absorber and remove them. It is like a sticker, touch only the places where there are dust particles, then the dust particles will stick to it.
- Manually Align: Take the screen protector. Plan on aligning it on the device. If you have guide stickers use those for align. Keep the screen protector properly on the screen, then take 3 stickers and stick two on one side and one in the middle on the other side.
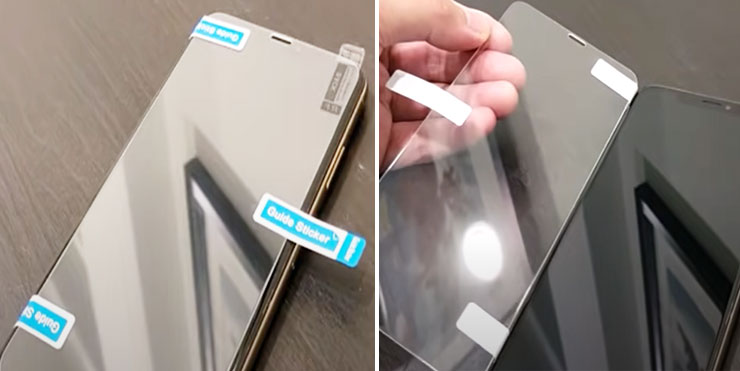
- Peel off: If you are aware of it, now, peel off the thin film of the screen protector (smoothly remove the protective film).
- Placing: Keeping the screen protector over the device, now align the cutouts and edges correctly. Place it slowly on the screen. Alignment should be perfect.
- Stick automatically: Now press the middle of the screen protector from top to bottom. Wait a few seconds and let the screen protector stick automatically.
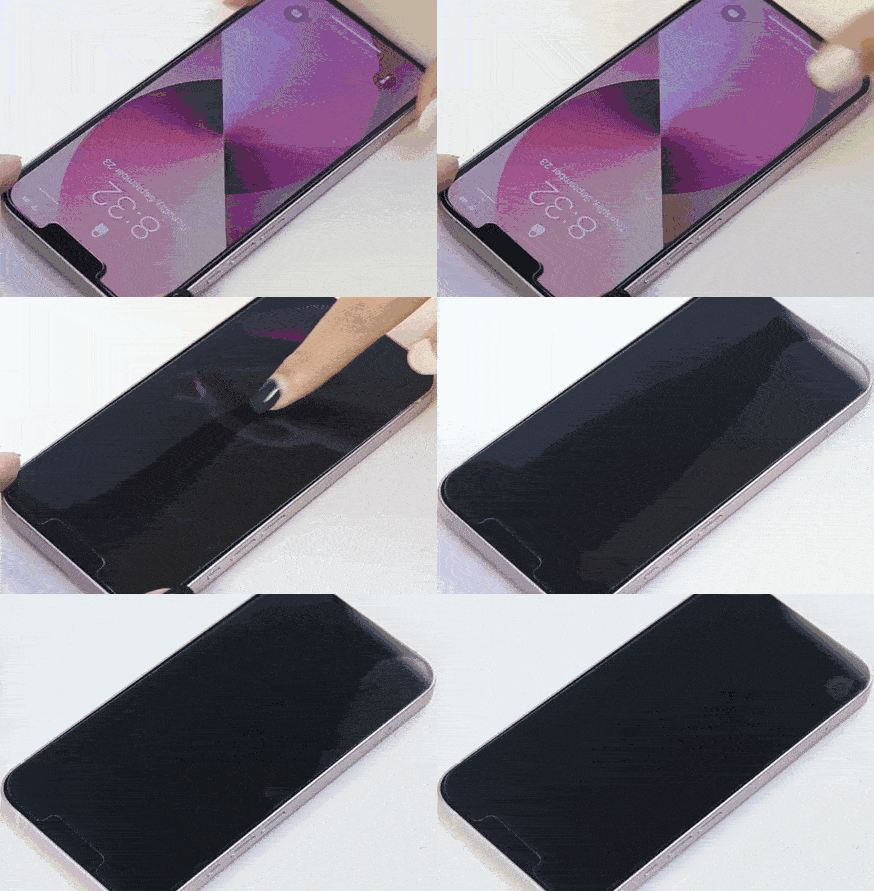
- Bubble: If you install the screen protector correctly, it will stick automatically without bubbles. But if there are bubbles, push them to the edge of the screen using the bubble remover. If you don’t have a bubble remover, gently push the bubbles to the edge with your finger.
With Installation Tray
Some Tempered glass screen protectors comes with alignment tray. If you have it, you have verry easy to align and apply it. Look at the below video for how it used. This video shows the spigen installation tray, you can use it easily. But in other products, this tool is different, but you can handle it easily.
So I hope this guide was helpful for you guys, thank you and have a nice day.
