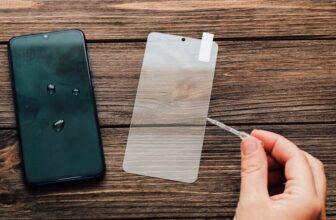
Installing a screen protector on a iPhone device is a simple process that requires careful attention to ensure a clean and bubble-free application. Here’s a detailed guide on how to put a screen protector on an iPhone using the provided steps.
Applying a screen protector without experience is not too difficult. Applying a screen protector without experience is a task that manufacturers have streamlined for user convenience. With clear instructions, user-friendly design, and the availability of online resources, even those without prior experience can confidently protect their devices from scratches and smudges.
By following these steps, you can successfully apply a screen protector to your any version of iPhone device, providing an additional layer of protection for the screen while maintaining a clear and responsive touch interface.
Clean the screen
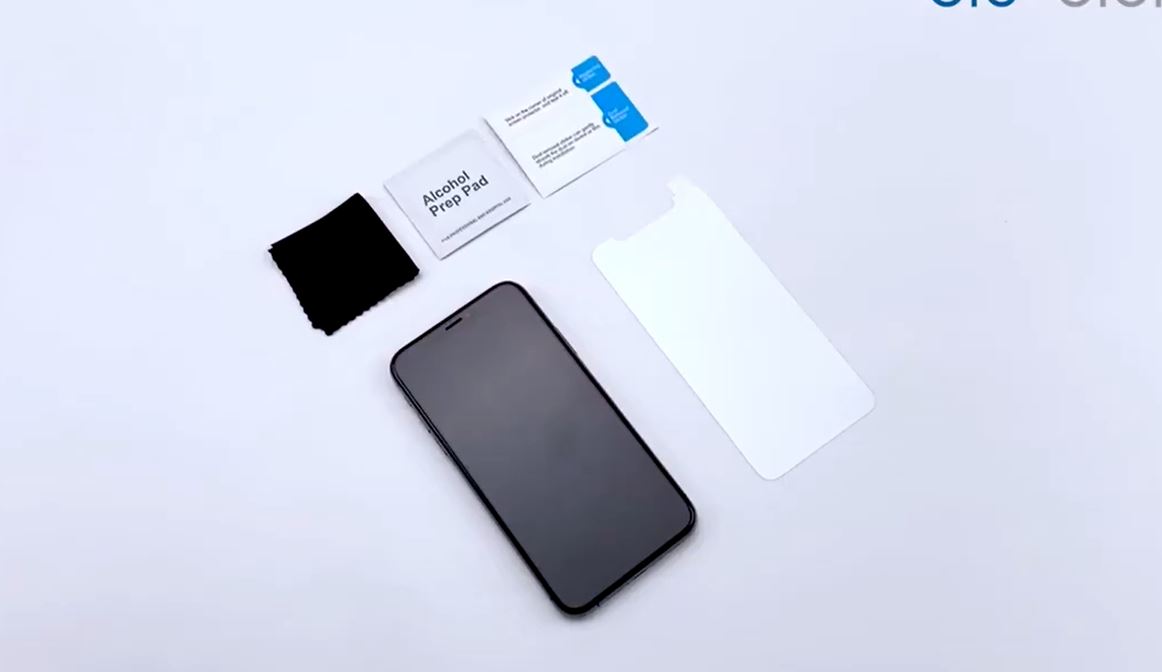
Remove the case from your iPhone and wash your hands to ensure they are free from oils and dirt.
Use an alcohol wipe or a microfiber cloth to thoroughly clean the screen. Ensure that there are no smudges, fingerprints, or dust particles left on the screen.
Line up the holes
Align the screen protector with the corresponding holes on your iPhone’s screen, such as the speaker, front camera, and home button.
Create a hinge
Use guide stickers to create a hinge on one edge of the screen protector. This will help you position the protector accurately on the screen without it sticking prematurely.
Peel off the backing
Lift the screen protector from the non-hinge side and carefully peel off the backing. Be cautious not to touch the adhesive side with your fingers to prevent fingerprints and dirt.
Press down
Gently lower the screen protector onto your iPhone’s screen, starting from the hinge side. Allow the hinge to guide the placement, ensuring accurate alignment.
Use a microfiber cloth or application tool
Once the protector is in position, use a microfiber cloth or the included application tool to press down and adhere the protector to the screen. Start from the center and move towards the edges.
Work out bubbles
If there are any air bubbles trapped under the screen protector, use a circular motion to apply gentle pressure, starting from the middle and working your way out towards the edges. Push any bubbles towards the edges to eliminate them.
Best iPhone screen protectors
Consider using high-quality screen protectors for optimal protection. Some recommended options include:
- Spigen Glas.tR EZ Fit Tempered Glass Screen Protector
- amFilm OneTouch Glass Screen Protector
- JETech Privacy Screen Protector
- EyeJust Blue Light Blocking Screen Protector
Following these steps will help ensure a clean and bubble-free application of the screen protector, providing an added layer of protection for your iPhone’s screen.
How to put Spigen Glas.tR EZ Fit Tempered Glass Screen Protector on iphone
Certainly! Here’s a step-by-step guide on how to put the Spigen Glas.tR EZ Fit Tempered Glass Screen Protector on an iPhone:
- Clean your phone:
- Start by cleaning your iPhone thoroughly using an alcohol wipe or a microfiber cloth. Ensure that the screen is free from dust, fingerprints, and any other particles that may interfere with the adhesion of the screen protector.
- Remove the protector film:
- Peel off the protective film from the adhesive side of the Spigen Glas.tR EZ Fit Tempered Glass Screen Protector.
- Place the installation tray on your phone:
- Use the provided installation tray and align it with your iPhone. The tray is designed to help you position the screen protector accurately.
- Press and slide from top to bottom:
- Gently press the screen protector onto your phone, starting from the top and sliding down. The installation tray should guide the alignment for a precise fit.
- Wait 30 seconds:
- Allow the Spigen Glas.tR EZ Fit Screen Protector to adhere to your iPhone’s screen. It’s important to wait for about 30 seconds to ensure proper bonding.
- Remove the sticker:
- After waiting for the recommended time, carefully remove the installation tray from your phone.
- Peel off the protection film:
- Peel off the protective film on the top side of the screen protector, exposing the clear glass.
- Check for bubbles:
- Inspect the screen for any bubbles or imperfections. If you notice any bubbles, you can gently lift the screen protector and reposition it as needed.
- Remove any bubbles:
- If there are bubbles present, use a microfiber cloth or the included smoothing card to press them towards the edges. Work from the center to the sides to eliminate any trapped air.
- Watch a video for reference:
- If you prefer visual guidance, consider watching a video tutorial on how to install the Spigen Glas.tR EZ Fit Screen Protector. This can provide additional tips and insights into the installation process.
These steps and utilizing the provided installation tray, you should be able to achieve a precise and bubble-free application of the Spigen Glas.tR EZ Fit Tempered Glass Screen Protector on your iPhone.
Applying a screen protector without experience
Applying a screen protector without prior experience may seem daunting, but in reality, it’s a manageable task that doesn’t require extensive skills. Here’s why:
Clear Instructions
Most screen protectors come with clear and concise instructions. Manufacturers understand that users may not have experience in applying protectors, so they provide step-by-step guides that are easy to follow.
User-Friendly Design
Screen protectors are designed with user-friendliness in mind. Many come with features like alignment trays, guide stickers, or adhesive tabs that simplify the application process. These elements help users position the protector accurately without difficulty.
No Special Skills Needed
Unlike some technical tasks, applying a screen protector doesn’t require any special skills or tools. If you can follow basic instructions and have a steady hand, you can achieve a successful installation.
Reusability
Many screen protectors are forgiving when it comes to misalignment during the initial application. They can be lifted and repositioned without losing their adhesive properties, allowing users to correct any mistakes.
Practice
There are numerous online tutorials and videos that provide visual guidance on how to apply screen protectors. Watching a brief video can boost confidence and provide additional tips for a smooth installation.
Some screen protectors come in multi-packs, providing users with multiple chances to practice and perfect the application process. This allows users to learn from any mistakes made during the initial attempts.
Applying a screen protector is often a common-sense task. It involves cleaning the screen, aligning the protector, removing a backing, and pressing it onto the device. The straightforward nature of the process makes it accessible to users of all experience levels.
Screen protectors are widely available, and with the plethora of options on the market, users can choose one that suits their preferences and comes with features that facilitate an easy application.